English


Feb 1, 2026
How To Use Shopkeeper’s Bulk Upload Tool to Enter All Your COGS In Minutes
We get it! Uploading all your costs for large inventories can be overwhelming. That’s why Shopkeeper’s Bulk Upload tool is here for you! The Bulk Upload tool allows you to enter COGS for all your products in a few simple steps, saving you countless hours! If you only want or need to configure a few ASINs at a time, you can use the cost configuration pop-up which we cover in another article here.
In this article, we'll give you a step-by-step guide on how to use the bulk upload feature.
You'll learn how to access the product configuration page, the difference between the download options, and how to fill in the template for bulk uploads.
Plus, we'll highlight some essential tips to keep in mind when using this feature. By the end of this article, you'll be equipped to use Shopkeeper's bulk upload tool like a pro!
Cost of Goods Page
Get ready for a hassle-free experience with the Product Configuration page on Shopkeeper! This amazing page offers a range of functions that you can access all in one place. No more clicking through multiple pages or getting lost in a sea of tabs.
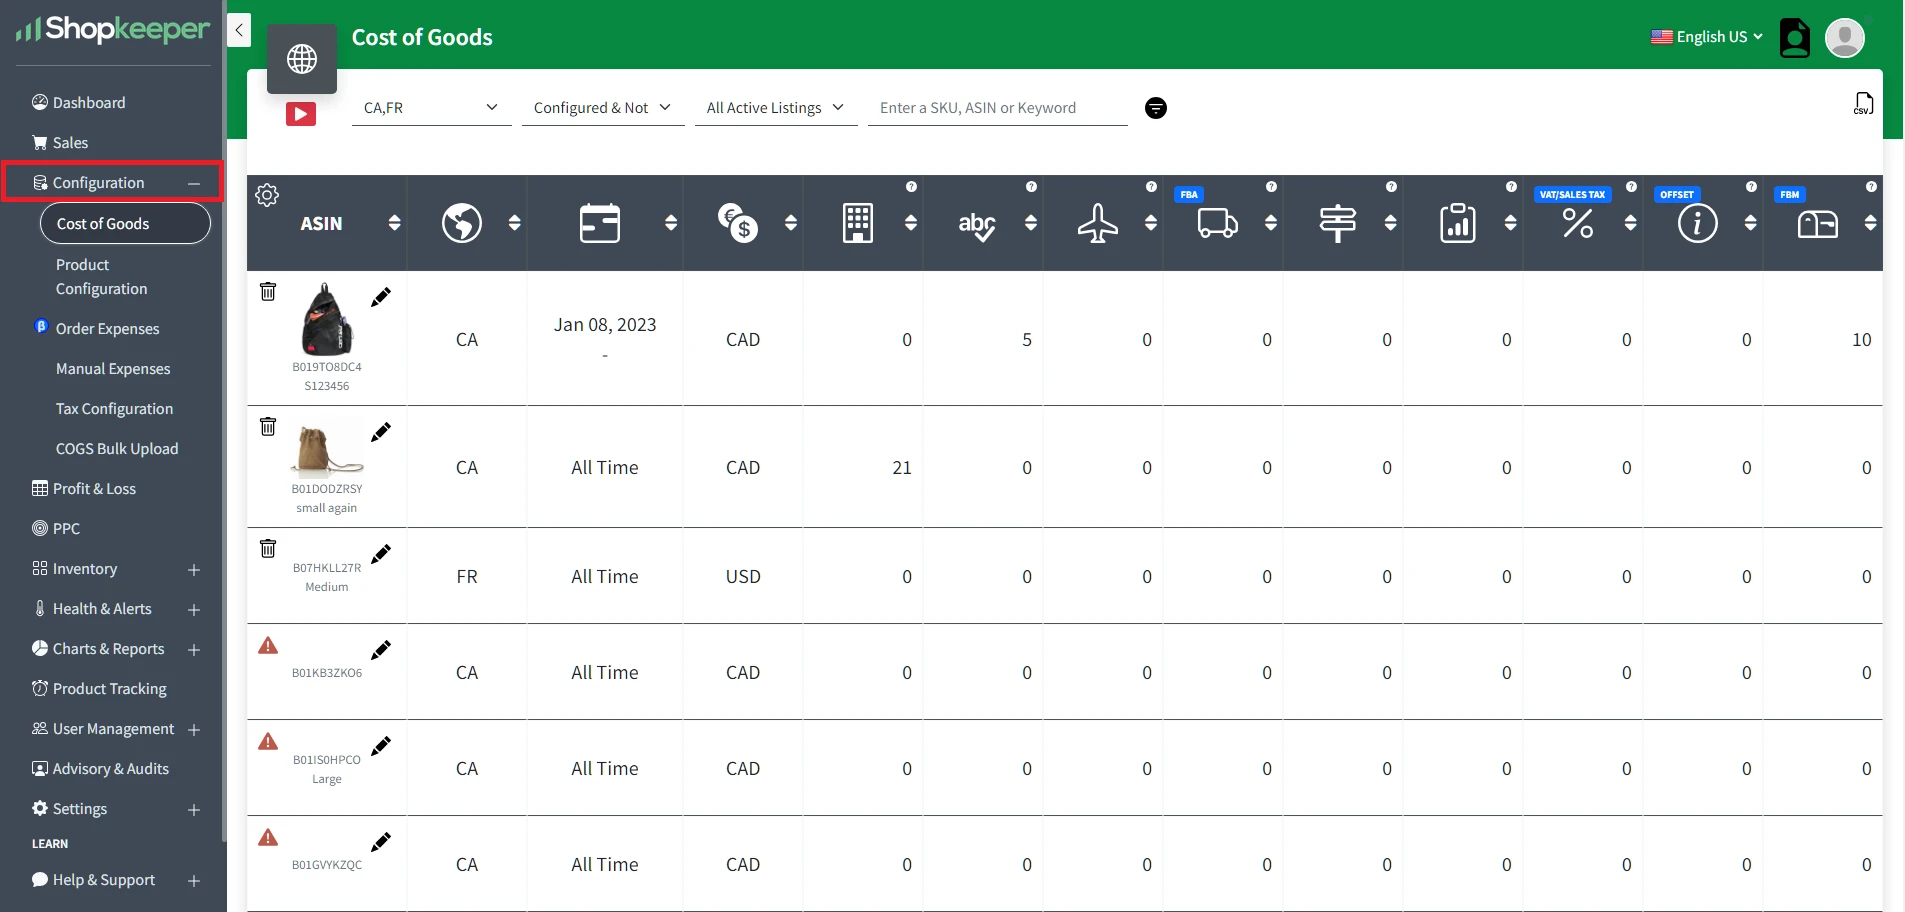
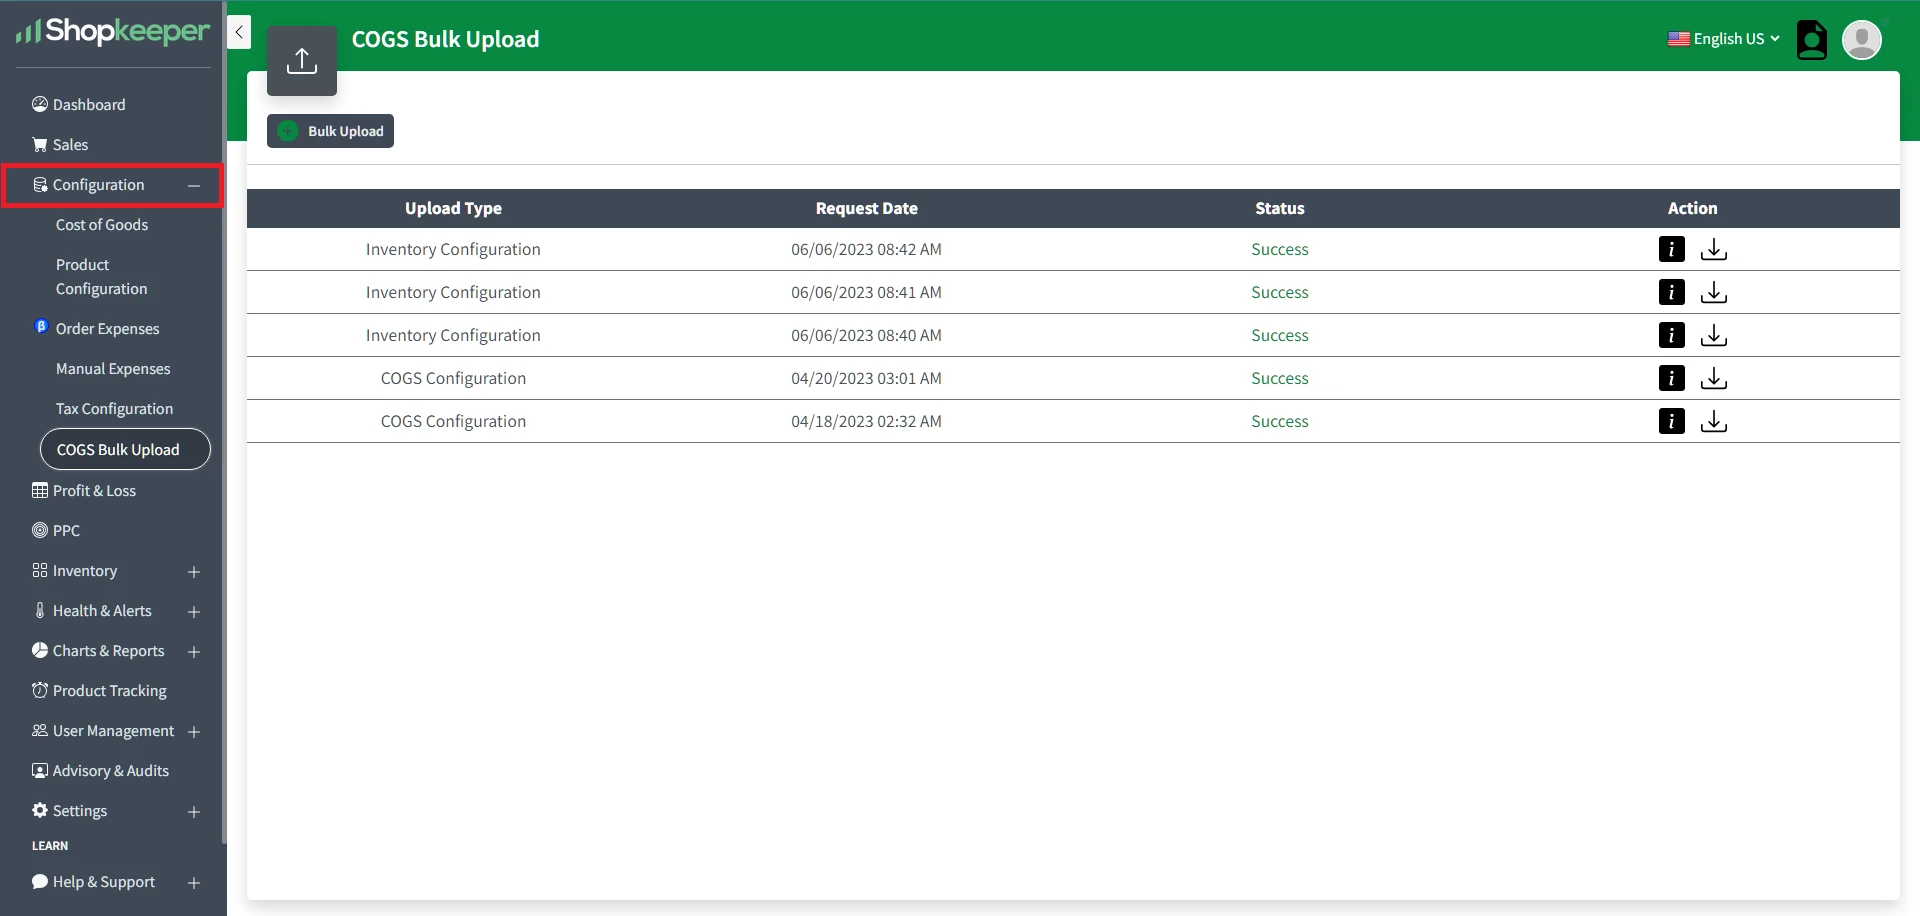
You can find the Cost of Goods page under Configuration in your Shopkeeper navigation menu:
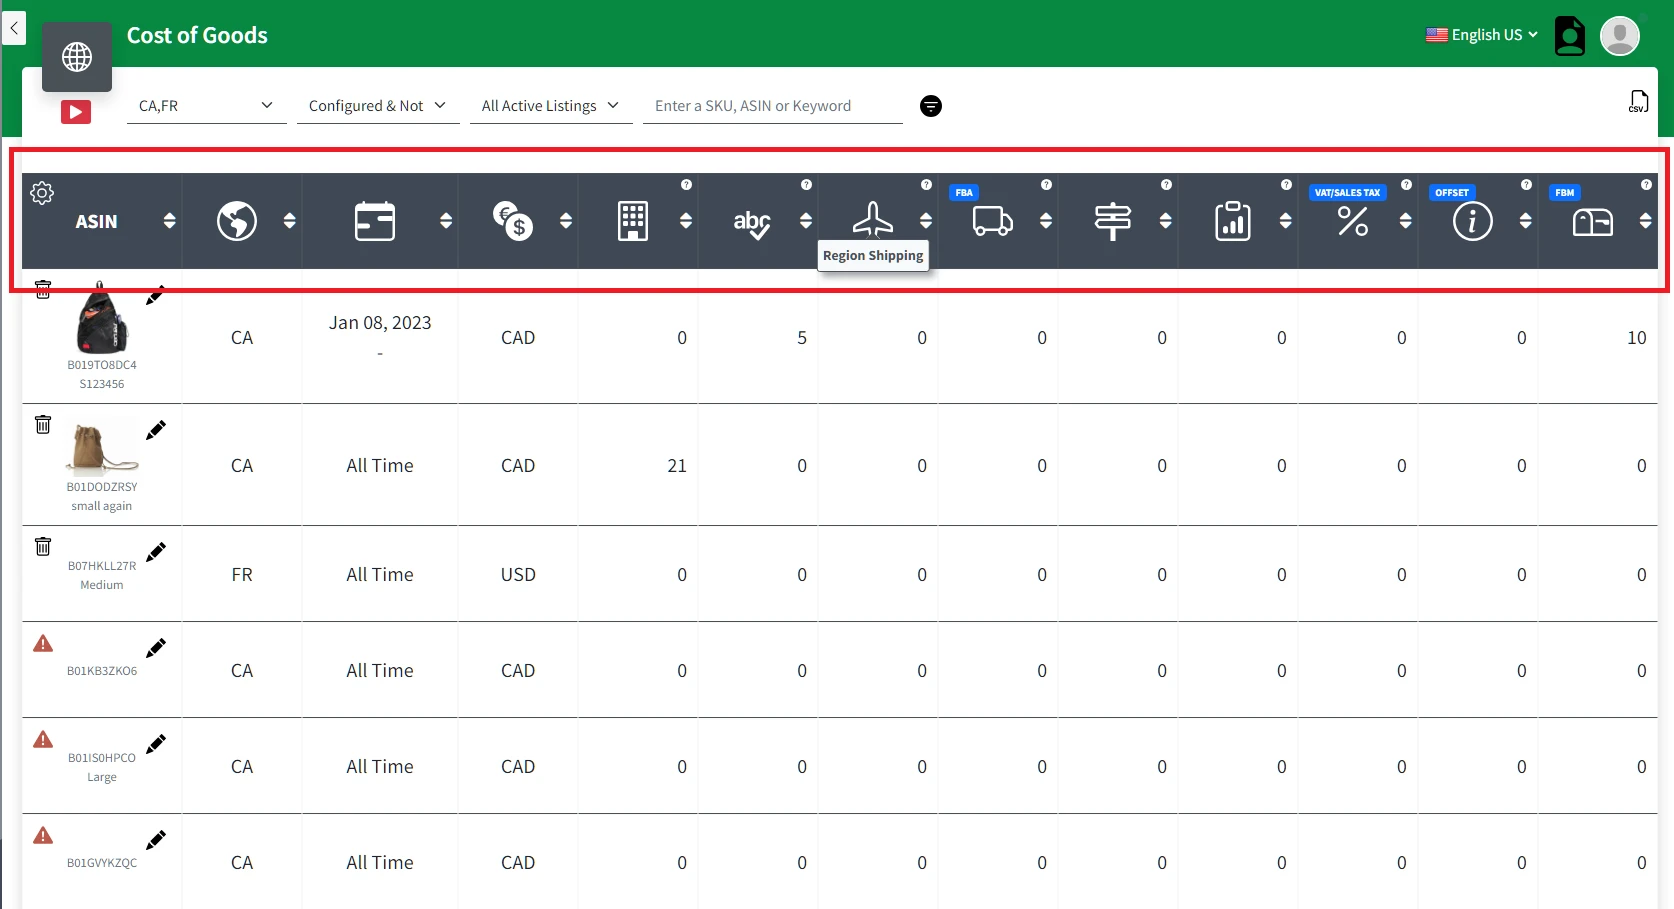
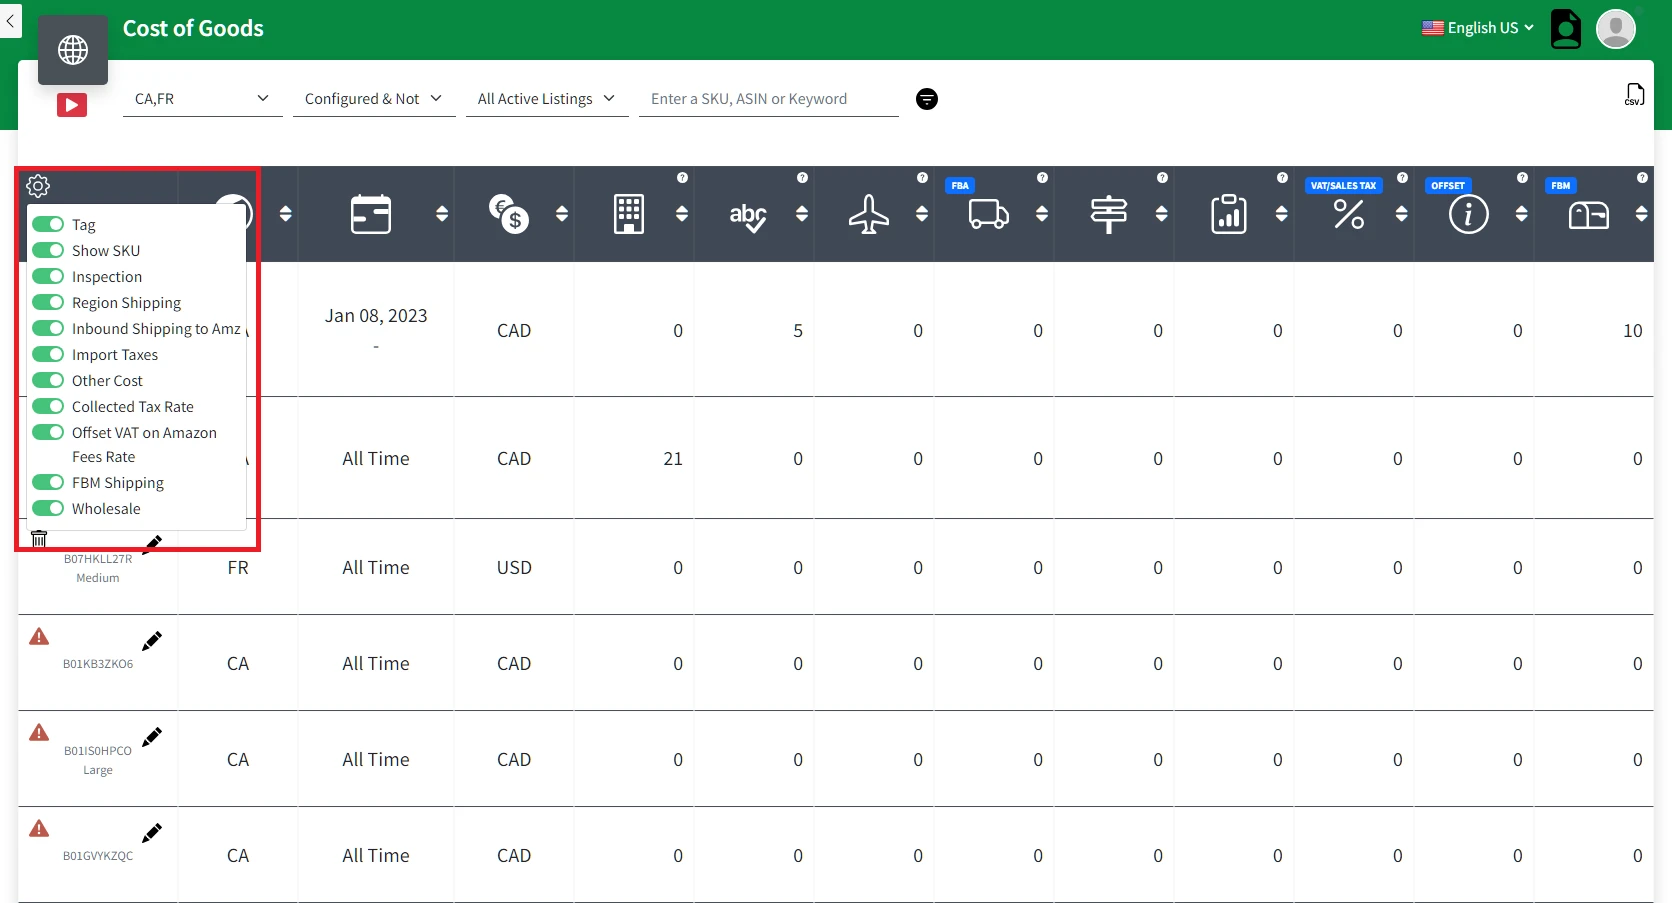
On the Product Configuration page, you’ll find a table that provides you with a comprehensive view of the COGS for all your SKUs across all marketplaces.
The table is split into multiple cost categories, including:
-
Manufacturing
-
Inspection
-
Regional Shipping
-
Local Shipping
-
Import Taxes
-
Other Costs
-
FBM Shipping
You can hover over the header image for an explanation of each one.
This allows you to be as detailed as you want when it comes to recording your product costs.
And if you want to keep things simple and only enter one cost, as your total purchase price, then that’s fine too as every column is optional!
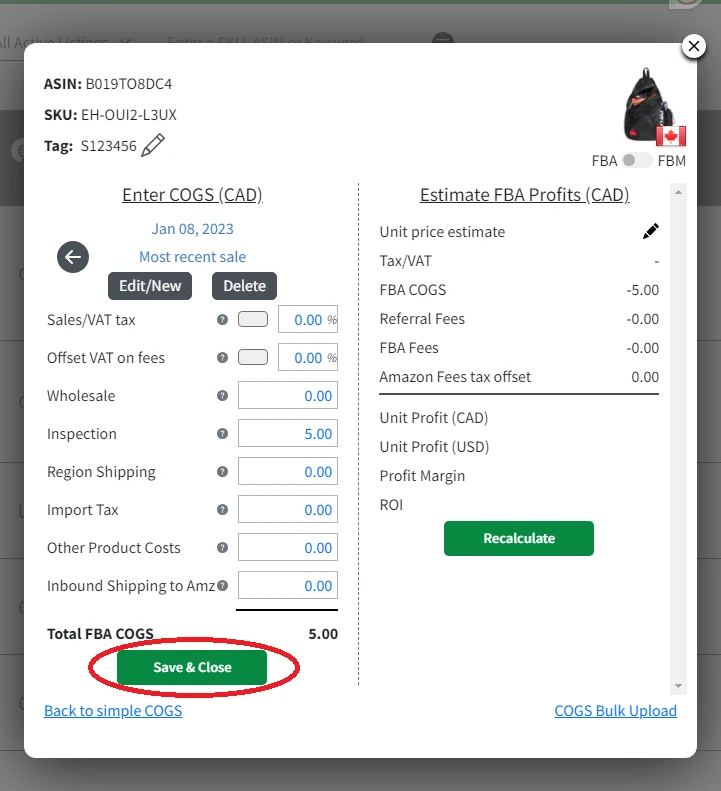
How To Create a Cost Period
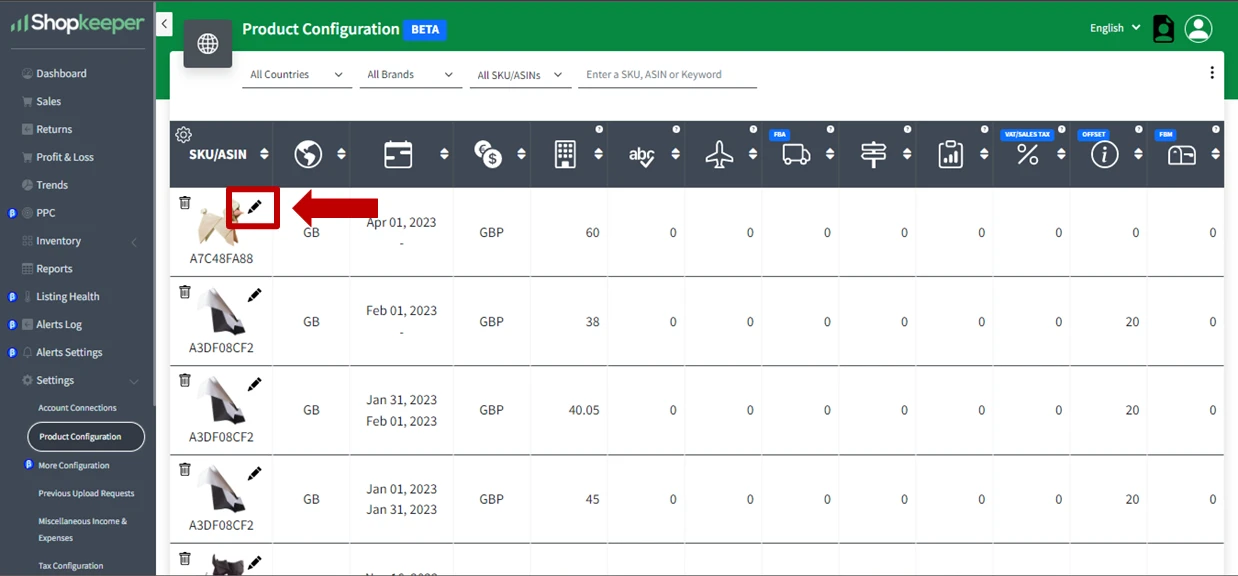
One of the great features of Shopkeeper is the ability to create multiple cost periods to account for changing costs for your SKUs. All you need to do is click on the black pencil icon next to the product image, and a handy popup will appear where you can easily enter the relevant dates and costs.
And with a final click on the "Save & Close" button, you're all set!
Where to Find the Bulk Upload Page?
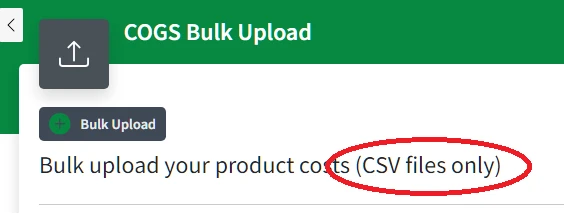
Now that you have a good grasp of the product configuration page, let's move on to finding the bulk upload function. You can also find the COGS Bulk Upload page under Configuration tab.
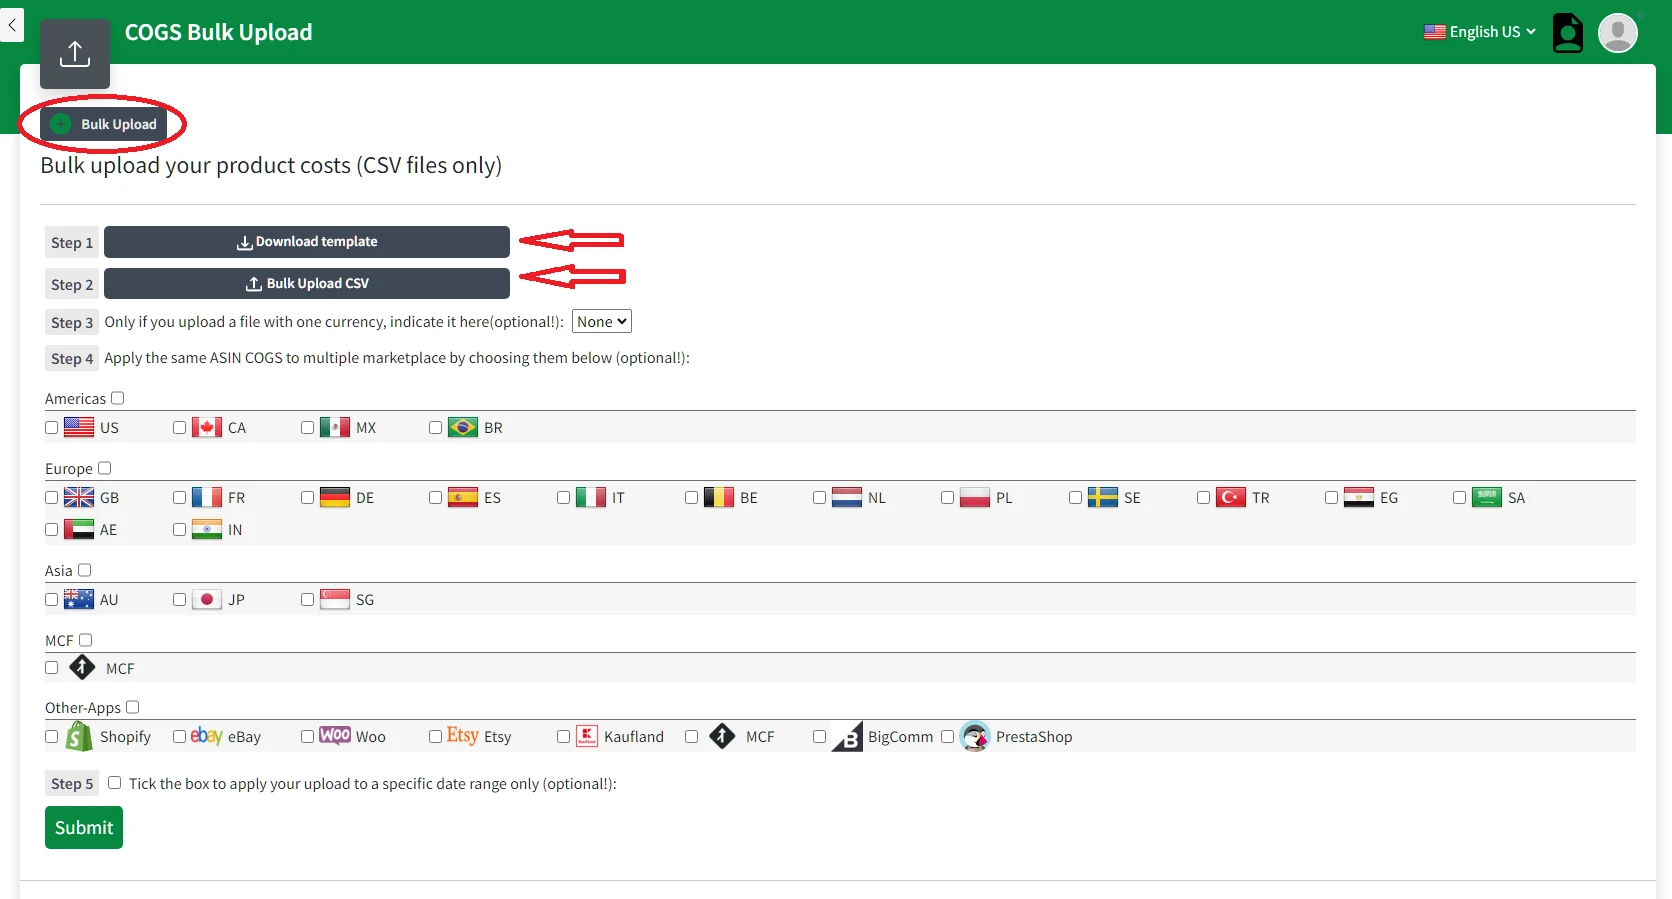
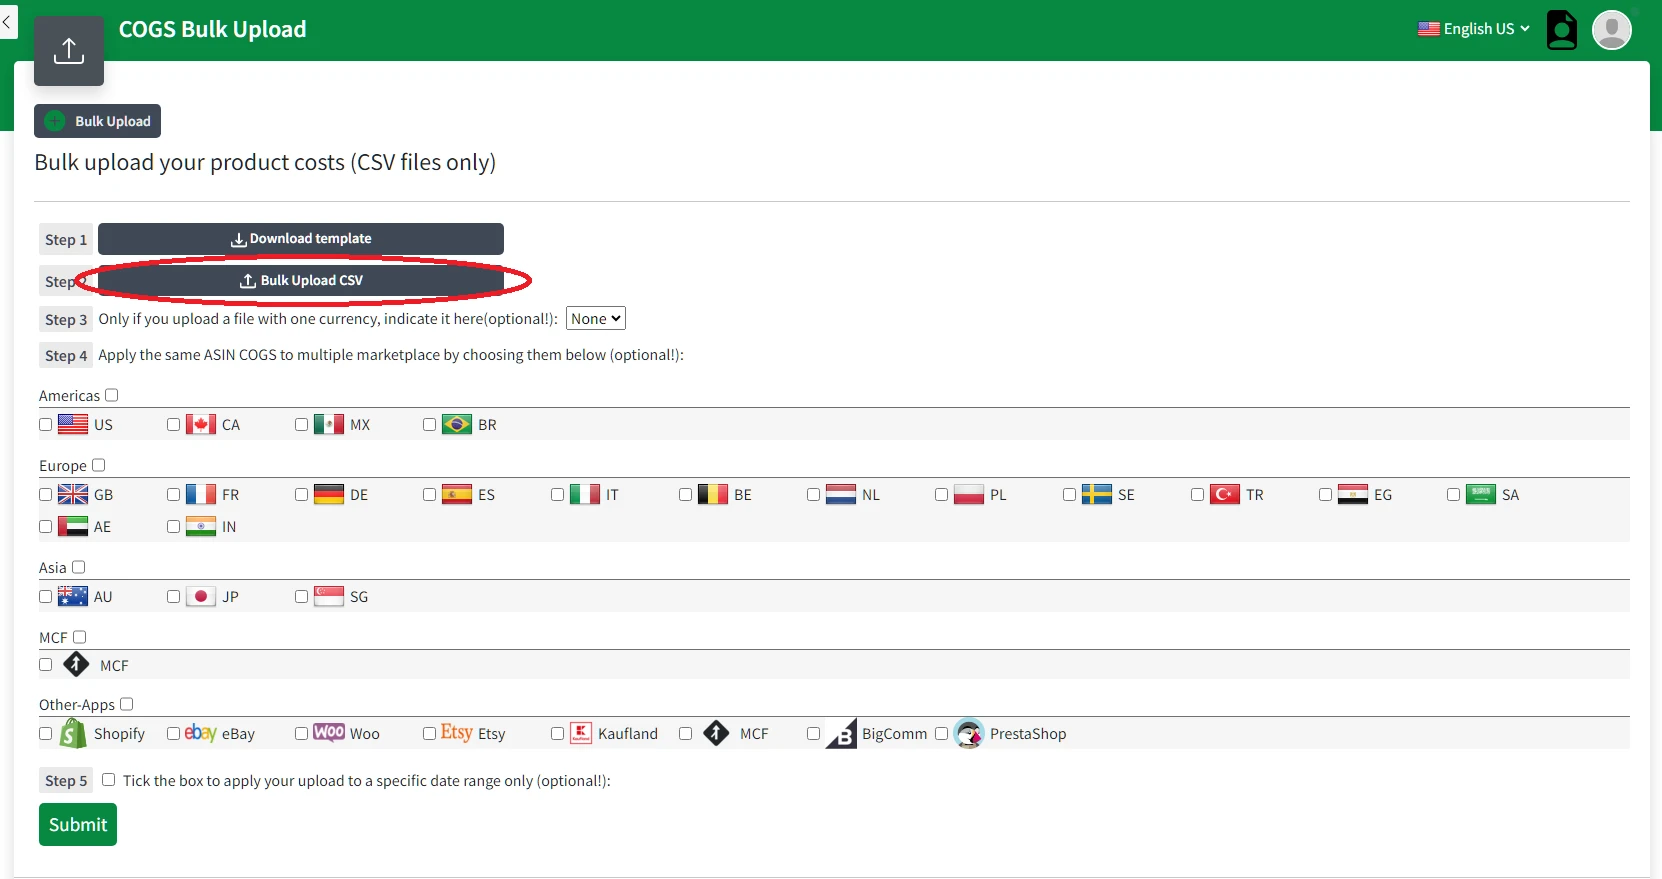
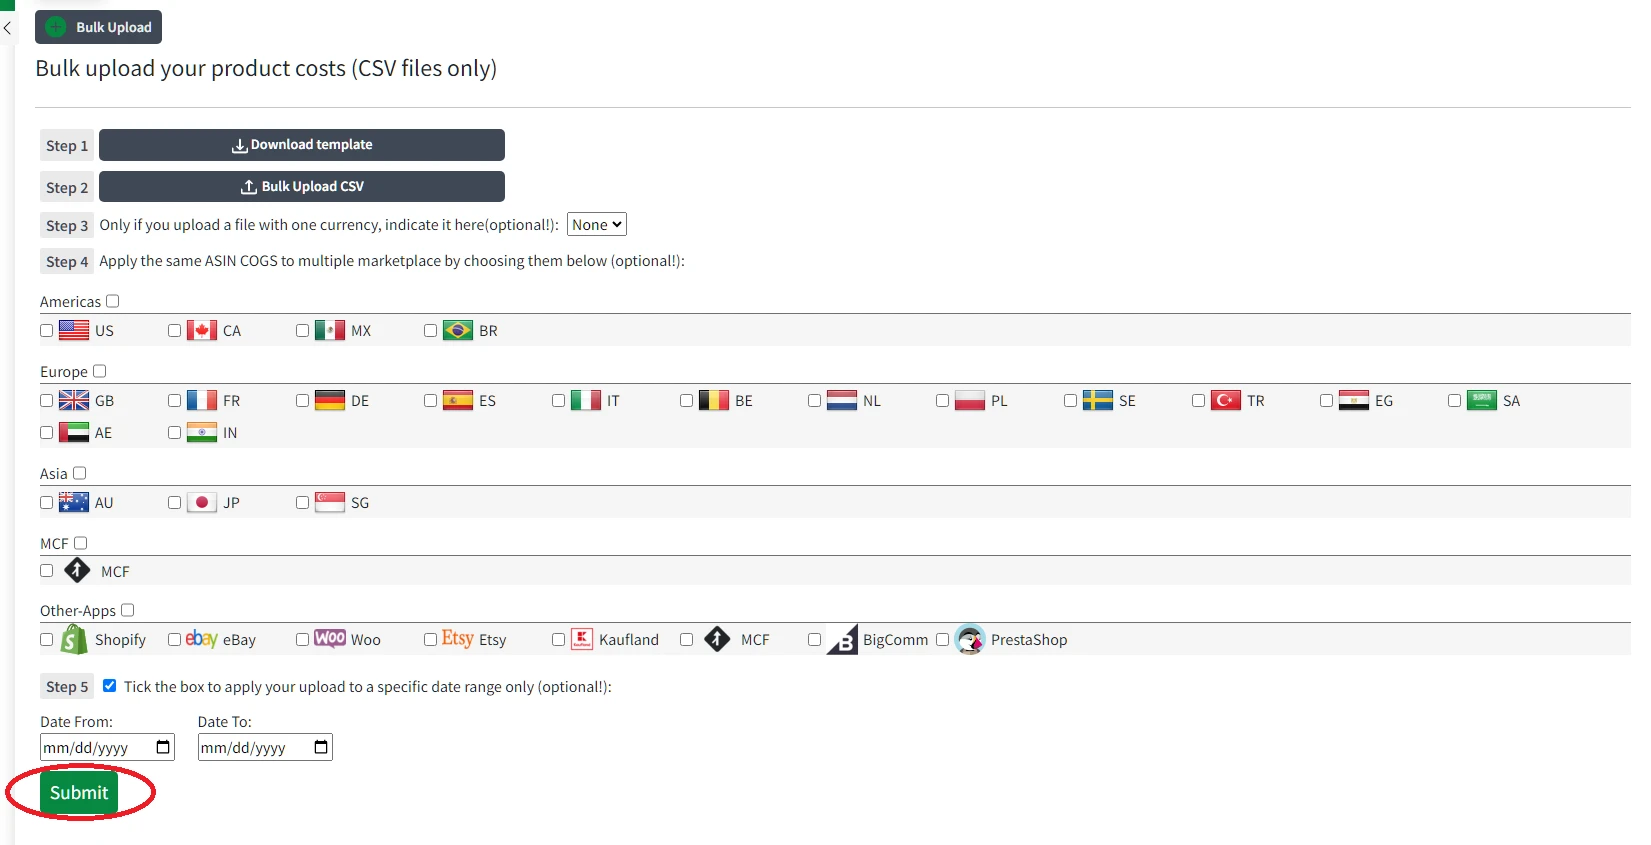
This will open up a menu with options to choose from: Download Template, and Bulk Upload CSV.
The Difference Between the Export file and Download Template file
To make sure you get the best results when using the Bulk Upload Tool, it's important to understand the difference between Export and Download Template.
The Export function allows you to download a complete history of your costs, including all different cost periods, in a CSV file format. This is useful if you want to review or analyze any or all of the cost history you’ve submitted to Shopkeeper, including how costs change over time.
So think of the Export file as a log of your COGS history. But don’t use it for uploading! It will not work!
On the other hand, the Download Template option is specifically designed for the purpose of uploading costs. When you choose this, you will download a template that you can reuse for the bulk upload.
There are two key differences between the Export and the Template.
-
The export shows you all your COGS history and the template doesn’t.
-
The export shows you any cost periods you have entered into Shopkeeper and the template doesn’t. The template does not even include or support any columns for start and end dates. This is intentional! Instead, you will enter the cost periods during the upload process.
The template includes only the necessary columns for filling in costs, such as the ASIN, country, currency, and VAT rate, but it does not include cost periods.
Very important! The headers in the template are the key to success. Never change them! Those headers tell Shopkeeper how to map your data to our database. We can’t interpret your file correctly unless we understand your headers.
But remember, you don't have to include all the columns or ASINs every time you do a bulk upload. You can choose to include only a few ASINs that you’re uploading/updating, or just a few marketplaces, or just a few columns. However little data you’re adding this way, it’s fine! Just make sure never to edit any of the headers.
Getting Started with the Bulk Upload Tool
Let's now dive into the Bulk Upload CSV feature and explore the third option available when you click on the three dots, as shown in the screenshot below.
After select the 'Bulk Upload CSV' option and uploaded the file, you will be prompted to choose the marketplaces, currency, and cost period for which you want to apply the costs. This is where you enter your cost periods.
Under Step 4, you'll see options where you can select the marketplace(s) that you want to apply the costs to. You can choose one or multiple marketplaces by holding down the "Ctrl" button on your keyboard while clicking on the options.

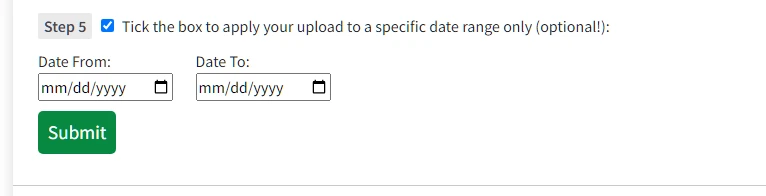
Under Step 5, you will notice the option that says “Apply your upload to a specified date range only”. Simply click on the checkbox to activate it and the start and end date fields will appear, as shown below.
Remember, cost periods are not to be included in the file itself. We put that in your export so that you have an easy way of seeing and analyzing all of your cost periods in a table. But those dates will not be accepted as part of the bulk upload and you should only upload one cost period at a time.
You can now click Upload CSV to upload your file which should contain the costs you want to apply for the selected marketplaces and cost period.
Once again, it’s important to note that you don't need to have every single column and every single ASIN in your CSV file when you do the bulk upload. You can upload only the information you need and leave out the rest, making the process a lot quicker and simpler for you.
Once you've entered all the necessary information, you can click on the 'Submit' button to proceed with the upload process.
What File Formats Are Supported By The Bulk Upload Tool?
To ensure that you get the best results when using the Bulk Upload Tool, it's important to have a good grasp of the available file formats. The tool is designed to support the CSV file format. This means that you can save your spreadsheets in MS Excel or Google Sheets as a CSV file to use with the Bulk Upload tool.
If you already have cost information saved in other file types such as XLS or XLSX, you can use file converters to change them to CSV. This will allow you to easily import and upload your cost information to the Bulk Upload tool, making managing your product costs a breeze.
Just make sure your headers match the template exactly and that you have no strange formatting, images, or anything else that is not pure and simple data in your cells.
Summary
To wrap it up, the Shopkeeper Bulk Upload tool is a game-changing feature that will save you valuable time in managing your product costs and ensure that you always have the most accurate profit data possible for your Amazon business, the Shopkeeper way.